
Blog

How to Choose the Best Polar Cooler Box for Your Needs?

Choosing the right Polar Cooler Box is less about buying the biggest model and more about matching its capacity, insulation, and portability to a real trip. The Outdoor Foundation’s 2024 Outdoor Participation Trends Report recorded 175.8 million U.S. participants in outdoor recreation during 2023. That figure is not a cooler sales statistic, but it shows how many people may need dependable ways to keep food and drinks cold outdoors. A packed car, a sunny campsite, and a long walk from the parking area all create different demands.

Outdoor-industry founder Yvon Chouinard wrote, “The more you know, the less you need,” in Let My People Go Surfing. His point offers a useful lens for cooler shopping: start with your habits, not the most impressive product claim. Consider how many people you pack for, how long the ice must last, and whether you can comfortably lift the box when full. Small details matter. A thick lid may help retain cold, while awkward handles can make a short carry feel surprisingly long.

There is no single best choice. That is easy to forget when product descriptions promise long ice retention without explaining the test conditions. Compare capacity, insulation, seals, drainage, and warranty details, then check whether the stated performance suits your climate and use. A Polar Cooler Box should fit the trip you actually take—not an idealized one. Keep some doubt; real-world performance depends on packing, opening frequency, and heat.
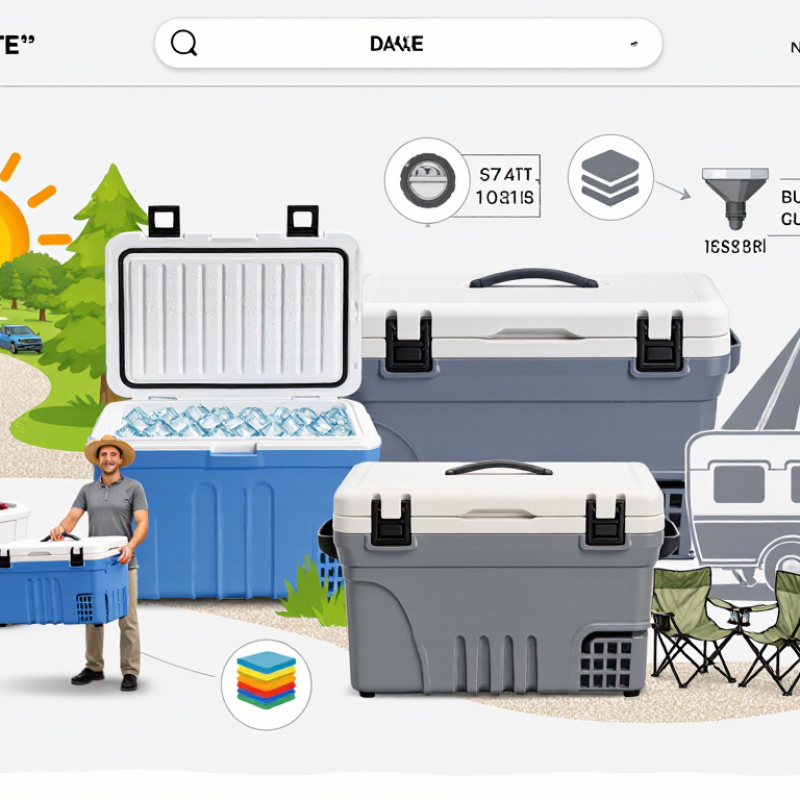
How to Choose the Best Polar Cooler Box for Your Needs?

Define Your Load and Capacity: 1 US Quart Equals 0.946 Liters

Before choosing a cooler, list what you will actually carry: meals, drinks, ice packs, and any containers. A capacity figure describes internal volume, not how many cans fit comfortably. One US quart equals 0.946 liters, so a 40-quart cooler holds about 37.8 liters before packing. Measure it first.

For a day trip, picture a 1-liter water bottle, a lunch box, and a bag of ice. Their shapes leave gaps, and ice takes up useful room. A cooler’s advertised capacity may also include space that is awkward to reach or pack. Leave some extra room rather than planning to fill every corner. Packing tightly can make food hard to retrieve and may limit cold-air circulation.

Convert your estimated load into quarts or liters, then compare it with the cooler’s stated capacity. For example, if your food and drinks total about 25 liters, that is roughly 26.4 US quarts, before adding ice. A larger model may seem safer, but it can be heavier to carry and harder to fit in a vehicle. These estimates are imperfect. Try arranging your usual containers on a table, then measure their combined volume before deciding.

How to Choose the Best Polar Cooler Box for Your Needs?

Define Your Load and Capacity: 1 US Quart Equals 0.946 Liters

Use these conversions to estimate the space your load requires. For example, 50 US quarts is about 47.32 liters. Values shown are unit conversions, not specifications for any particular cooler.

Compare Ice-Retention Hours Under Consistent Test Conditions

How to Choose the Best Polar Cooler Box for Your Needs?

Compare Ice-Retention Hours Under Consistent Test Conditions

An ice-retention claim only means something when the test conditions are clear. Compare coolers using the same ice type, starting temperature, and loading ratio. For example, fill each box with equal proportions of ice and sealed water bottles. Place them in the same shaded area, away from walls and direct sunlight. Small details matter.

Keep the outside temperature similar, and open every lid on the same schedule. A quick check every few hours is more useful than repeatedly peeking inside. Record the time and the temperature at the center of the contents, using the same thermometer. Decide in advance what counts as “ice retained”: a few remaining cubes, or a target internal temperature. Those are very different endpoints.

Cooler size can also distort comparisons. A larger box may hold more ice, but it may also contain more empty space if the load is small. Match the fill level, and note how much ice each test begins with. Repeat the test if possible; one unusually cool night can skew the result. Even careful home testing has limits, and I would not treat one trial as a guarantee. Still, a clear log makes advertised hours easier to judge against your typical trip length and opening habits.

Assess Insulation, Wall Thickness, Lid Seal, and Drainage

How to Choose the Best Polar Cooler Box for Your Needs?
Assess Insulation, Wall Thickness, Lid Seal, and Drainage

Start with insulation suited to your trip. For a short picnic, moderate insulation may be enough; overnight camping usually calls for stronger temperature retention. Compare wall thickness, too. Thicker walls can help slow heat transfer, but they also add weight and take up storage space. A large cooler is not automatically better. Consider how much food and ice you actually carry.

Check the lid seal by closing the cooler and looking for even contact around the rim. Gaps can let warm air in, especially when the box sits in direct sun. A firm latch helps, but it should not be difficult to operate. Drainage matters once the ice melts. Look for an accessible plug that empties water without requiring you to tip a heavy, full cooler. Small details matter. I’d also check whether the drain sits low enough to clear pooled water; product descriptions do not always make this obvious.

Tips: Test it empty. Open and close the lid, inspect the gasket, and locate the drain before packing. If possible, check the cooler’s weight and dimensions in person. That extra check can prevent a cramped car trunk or an awkward carry.

Check Empty Weight and Dimensions for Transport and Storage

When choosing a cooler, check its empty weight before focusing on capacity. A large model may hold plenty but feel awkward before you add anything. That matters when you carry it from a car to a picnic table or lift it onto a storage shelf. Compare the listed weight with what you can comfortably manage, especially if one person will move it alone.

Check both external and internal dimensions. External measurements determine whether the cooler fits through a trunk opening, between seats, or inside a cupboard. Internal space tells you whether it can hold the bottles and food containers you actually use. Measure the narrowest point. Leave room for handles, wheels, and the lid to open fully. Measure twice. Product dimensions may not include every protruding part, so verify the details when possible.

Think about the whole trip, not just the empty box. Ice, drinks, and food add weight quickly, and a short carry can feel different on stairs or uneven ground. A common oversight is measuring the trunk floor but not its opening. Still, even careful measurements cannot predict every awkward lift; a cooler that fits perfectly may be difficult to maneuver when loaded. Check where it will travel and where it will live between outings.

Keep Perishable Food at or Below 40°F (4°C) for Safety

A useful cooler is not merely large; it must keep perishable food at or below 40°F (4°C) throughout your trip. Look for thick insulation, a tight-fitting lid, sturdy latches, and enough room for ice around containers. Capacity matters: an oversized, half-empty box can be harder to keep cold. Use a small refrigerator thermometer, since touch cannot confirm safe temperatures. That check is easy to forget.

Tips: Chill the cooler and food before loading. Pack raw meat in leakproof containers at the bottom, away from ready-to-eat food. Use plenty of ice or frozen packs, and keep the lid closed. Place the cooler in shade; check the thermometer after opening it.

For longer outings, choose a cooler that fits your vehicle and expected ice supply, not simply the largest option. A full cooler usually holds cold better, but leave space for ice to surround containers. Advertised cooling times can be misleading in real heat, especially when the lid is opened often. If the temperature rises above 40°F, move perishable food to reliable refrigeration promptly; smell is not a safety test. Planning what you need before opening the lid takes an extra minute at home, but can help limit warming.

How to Choose the Best Polar Cooler Box for Your Needs? - Keep Perishable Food at or Below 40°F (4°C) for Safety

Compare cooler capacity, portability, and useful features against your trip. Capacity ranges below are general shopping guides; actual usable space varies by cooler design.

Your needs Suggested capacity Features to look for Practical trade-off Food-safety check
Lunches or a short day trip About 10–20 qt (9–19 L) Compact shape, secure lid, easy-clean interior, and room for cold packs around the food. Easy to carry, but has limited room for drinks and larger containers. Pack food cold, keep the lid closed, and use a food thermometer to check that perishables stay at or below 40°F (4°C).
Small group or weekend outing About 20–40 qt (19–38 L) Thick, even insulation; a well-fitting lid; sturdy handles; and a drain plug if you expect melted ice. More storage than a lunch cooler, but heavier when packed with food and ice. Pre-chill food and drinks when possible. Keep raw meat sealed and separate from ready-to-eat foods.
Family trip or several days outdoors About 40–70 qt (38–66 L) Durable construction, secure latches, comfortable carrying points, and enough space to organize food separately from drinks. Higher capacity can be difficult for one person to lift, especially when full. Use a separate cooler for frequently accessed drinks if practical, so the food cooler can stay closed more often.
Group events or bulk storage About 70 qt (66 L) or more Strong handles, a stable base, easy-clean surfaces, and a design that can be secured during transport. Large coolers need more ice or cold packs and may be awkward to move when loaded. Pack in manageable sections, replenish ice or cold packs as needed, and verify the temperature with a thermometer.
Frequent transport over rough ground Choose based on load; consider a smaller cooler if carrying by hand. Wheels suited to the terrain, a comfortable handle, sturdy corners, and a lid that stays securely closed. Wheels can improve mobility, but bulky designs may be harder to carry or fit in a vehicle. Keep the cooler upright and shaded where possible; check that the lid and seals remain secure during travel.
Choosing between similar models Compare internal usable space, not just the outside dimensions. A tight-fitting lid, durable hinges and handles, a simple-to-clean interior, and a drain that can be closed securely. Extra features may add weight, cost, or storage bulk; prioritize what you will use. A cooler is not a substitute for temperature monitoring: keep perishable food at or below 40°F (4°C).

Food-safety reminder: Keep perishable food at or below 40°F (4°C), using a refrigerator thermometer or food thermometer to check. Do not leave perishable food unrefrigerated for more than 2 hours—or more than 1 hour when the outside temperature is above 90°F (32°C). Keep raw meat sealed and apart from ready-to-eat food, and keep the cooler closed and out of direct sun when possible.

Go to Top